Free Shipping over $49
Free Shipping over $49
First Aid Kits
Bandages

Treating Splinters Without Tears
April 01, 2022 3 min read
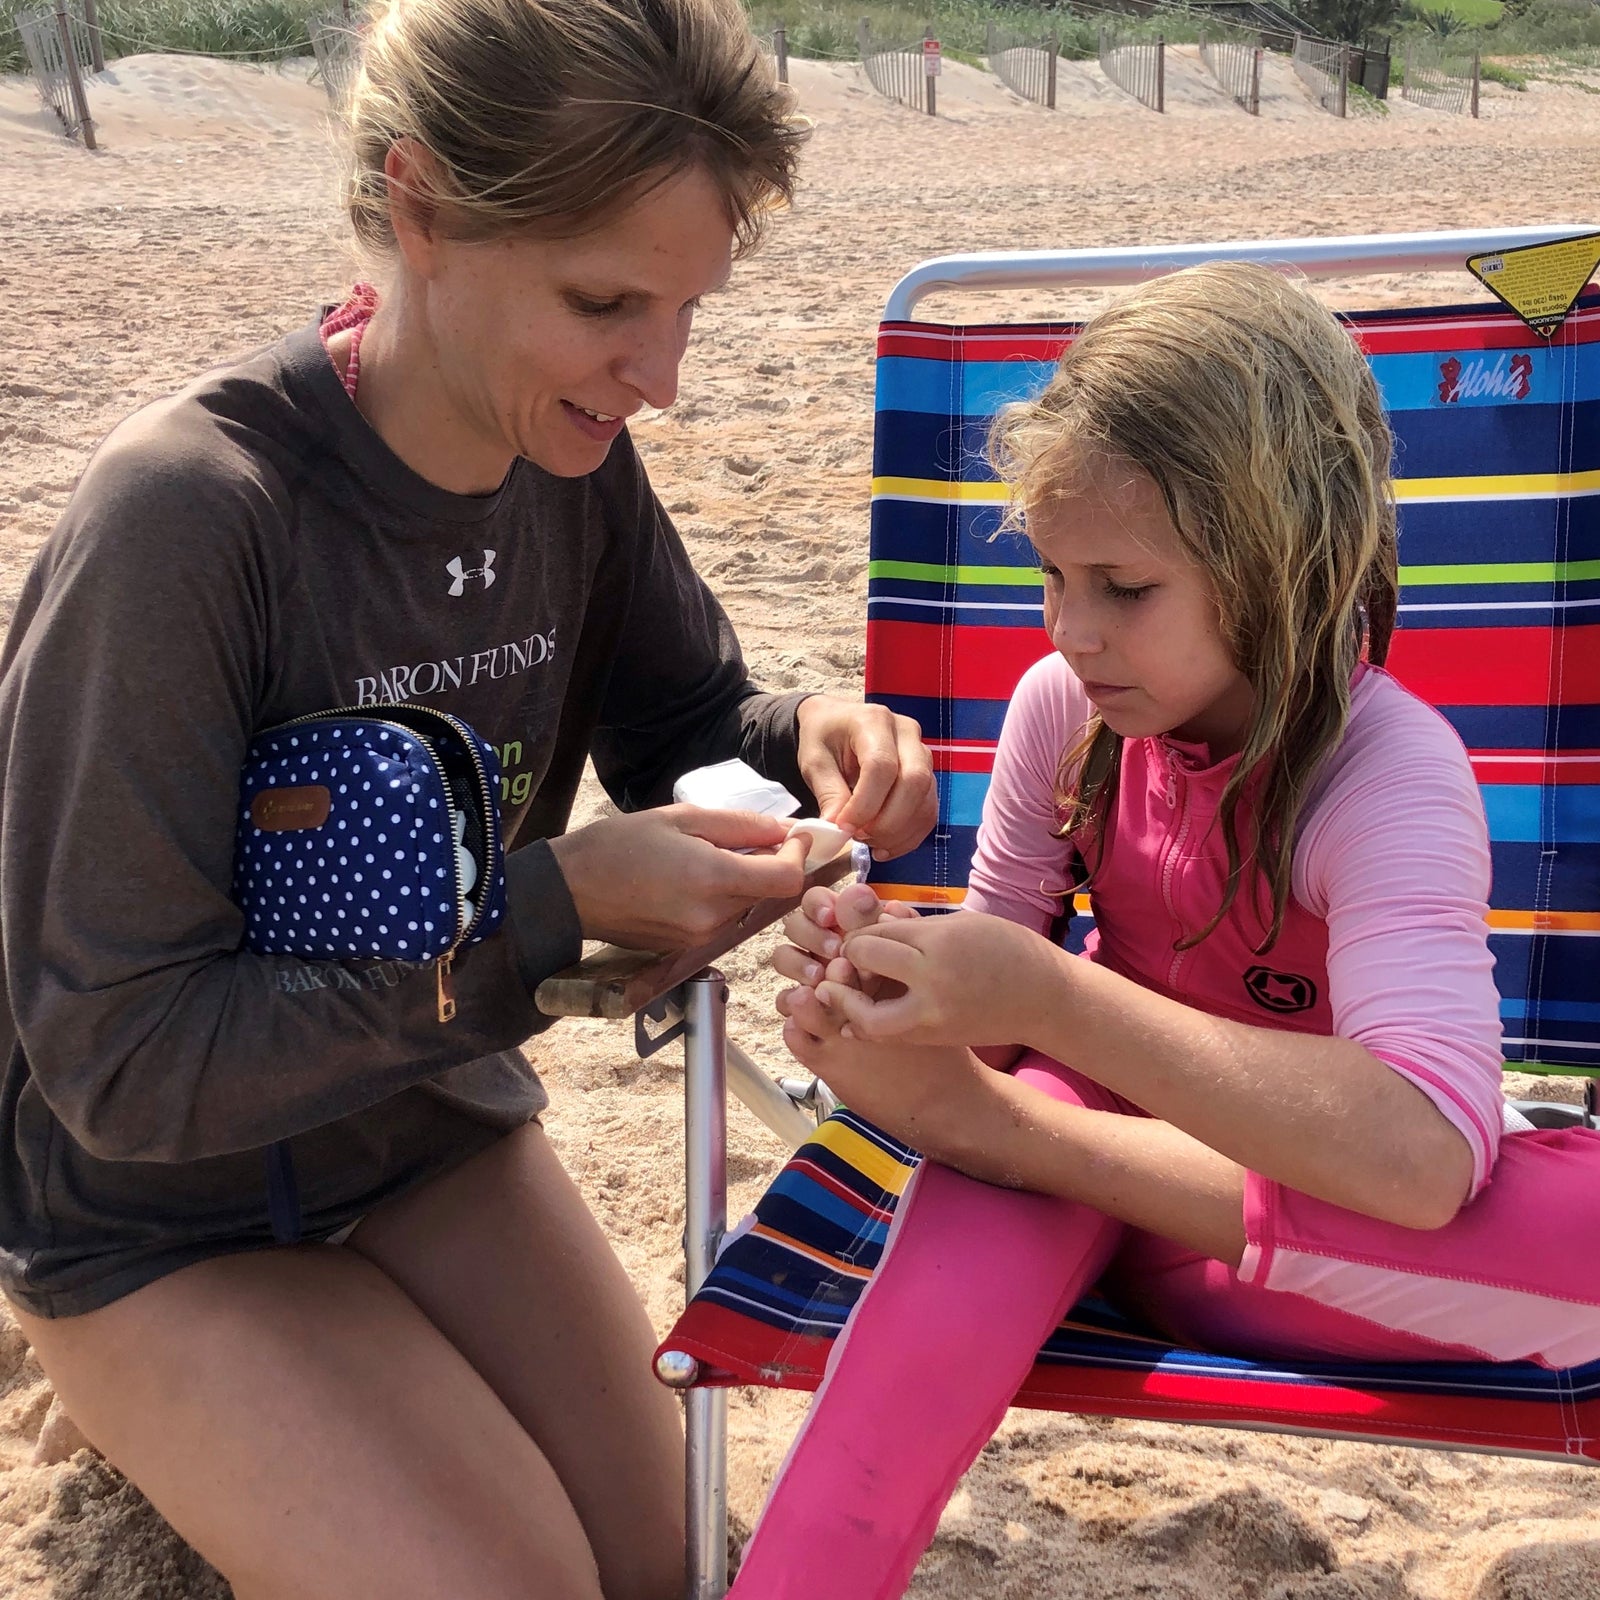
Who knew such a tiny piece of wood could cause so much pain? Splinters are never fun and if your child encounters even the most miniscule splinter, it can be enough to ruin the day. Sometimes, the splinter itself doesn’t even cause that much pain. However, the anticipation of getting it out from under the skin can cause your child to cripple with panic.
Before you pin down your little one and come at them with all kinds of terrifying tools, it’s important to follow these steps so you can identify the best way to treat it. Wee inculded everything you need to get that splinter out and get your child back to playtime in your KEEP>GOING SuperKit, GoKit and MiniKit.
Here’s how to treat a splinter as quickly and painlessly as possible!
-
Clean the area.
While you may not see gushing blood or a large gash, a splinter still causes a small puncture in the skin. And any exposed wound has the chance of becoming infected. Use the antiseptic cleaning wipes included in your family First Aid Kit to clean the affected area first – they are guaranteed non-sting and therefore very kid friendly!
-
Assess the splinter.
Once your child calms down enough to let you take a look, observe the splinter and try to figure out its size and material. If it’s a tiny piece of wood or debris, you may be able to get it out using first aid tape or a bandage from your compact First Aid Kit.
Keep in mind, if the splinter is made from metal or another concerning material, it could cause an infection if it enters the bloodstream. Consider contacting a medical professional to discuss if treatment may be necessary.
-
Grab the metal tweezers.
Tweezers from your KEEP>GOING First Aid Kit bag will help you extract a splinter that simply won’t come out on its own. Move to a well-lit area and get as close to the splinter as you can. Try to grab the tip of the splinter with the tweezers and pull it out.
If it doesn’t budge, you may need to move your child’s skin aside with one tip of the tweezer in order to grab it. Pinching the skin around the splinter to bring it to the surface may also help you get a firm grip to pull it out successfully.
We upgraded all KEEP>GOING First Aid Kits with metal tweezers, they help much better than the standard plastic tweezers.
-
Clean it again.
Once you’ve gotten the splinter out, you’re a hero! Way to go, SuperHero!! But your job isn’t done. Clean the area again and apply the triple antibiotic cream in your First Aid Kit bag. If there’s any blood or the area looks exposed, apply a bandage to protect it from infection.
-
Reward your little one.
You basically just performed surgery and your little patient was a trooper! Reward your child by letting them choose which fun sticker from the kid friendly First Aid Kit they’d like to show off to their friends. Bring back the smiles by handing out some colorful, latex-free, fabric, designer bandages included in your KEEP>GOING First Aid Kit bag.
Your KEEP>GOING First Aid Kit is Designed to Help and has just what you need to deal with traumatic situations like splinters. When you follow these steps and get rid of that menacing tiny piece of wood, you’ll get your child back to smiling and laughing in no time.
GET 10% OFF IMMEDIATELY
Subscribe to our Newsletter and receive a 10% coupon when you enter your e-mail address.


